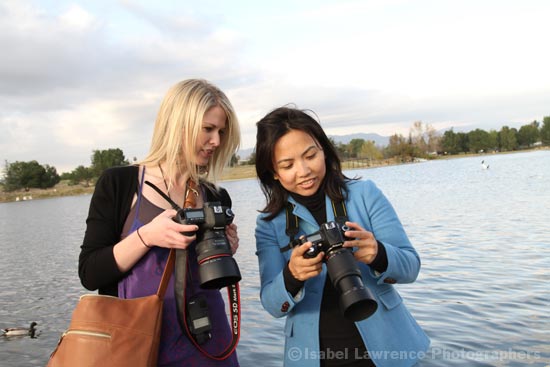
Photo lessons we taught at our Julia Dean Workshop
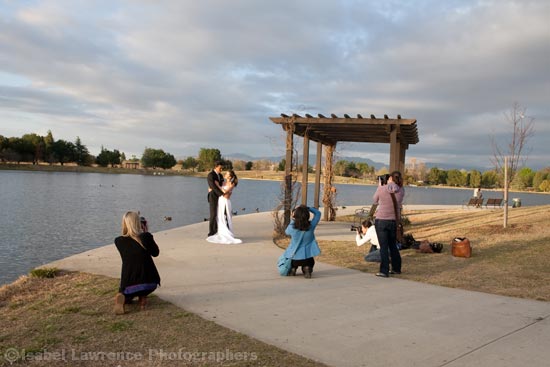
We recently taught a wedding photography class at the Julia Dean Workshops in Hollywood. Some of the topics covered were: Marketing with No Money, Utilizing your Blog to its Full Potential, and Seeking Inspiration in Unusual Places. Our class was really intimate which made sharing lots of insider tips easy and fun. We also spent an afternoon photographing a real-life couple. It was a great opportunity to show our pupils how Larry and I work together as a team when photographing a wedding. We divulged some of our fool-proof techniques for creating interesting, beautiful images quickly and efficiently.
I thought you might find some of these lessons useful too. Even if you are not photographing weddings, these tips can be used to improve photographs of your children or friends. I’ve also included shots of students: Judy, Sam, Holly and Hannah in action as well some of their images in this post.
Let’s get started with Lesson # 1
Keep it simple.
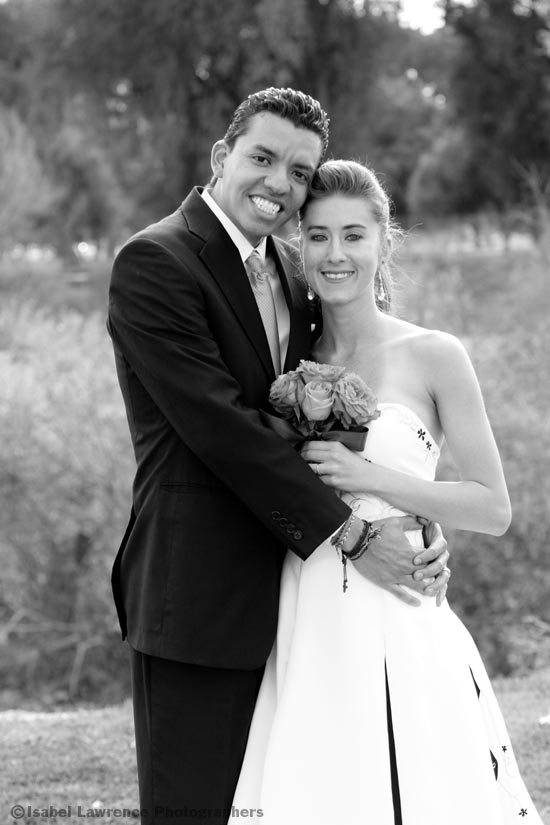
We usually begin the portrait session of our brides and grooms with what we call the “Mom shot”. We call it this because we never met a mom who didn’t love this pose. It’s straight forward, and a bit traditional. It’s also a great jumping off point for both us and the couple. By putting them in this wholesome, not too provocative situation, we are easing them into the process of being photographed and getting them over any photo jitters they may have.
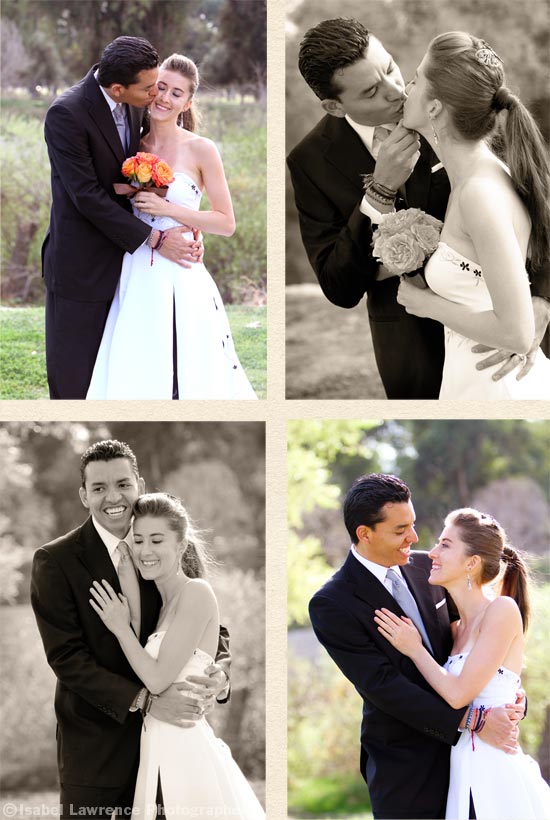
By asking our love birds, Kerry and Gustavo, to interact a bit and by taking a few steps around them while they did so, I was able to make four sweet photos of them in a matter of seconds and you’ll notice how happy and relaxed they look. Trust me, this is a great way to get a photo shoot started!
Following two images ©Hannah Ward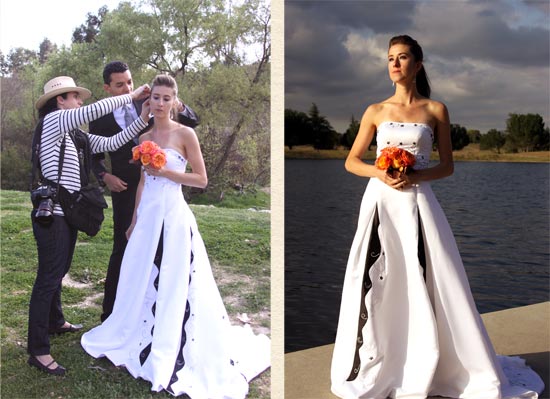
Hannah, our class assistant not only shot behind the scenes, she made this lovely portrait of our bride.
Lesson # 2
Never waste an opportunity.
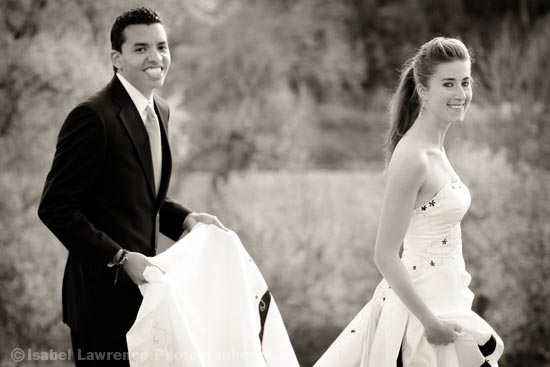
One of the realities of photographing a wedding is that time is a precious commodity. We often have a very small window in which to create many images. Larry and I don’t waste any opportunities when it comes to creating lovely photos. For instance, even when we are moving our subjects from one location to another, we are doing so in a controlled way. We ask them to walk where the light is nice and make certain their expressions are picture perfect.
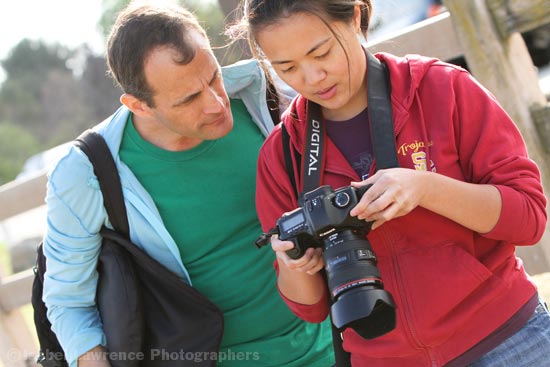
Larry gives Judy an on the spot critique.
Lesson #3
Get down low.
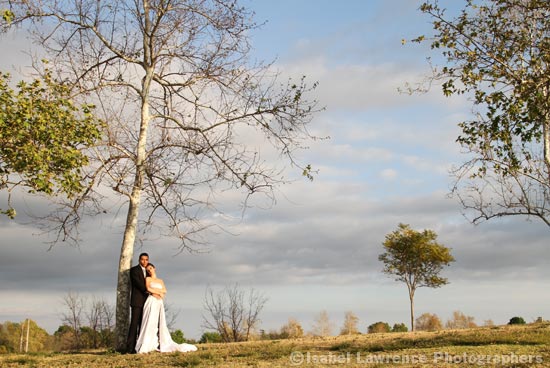
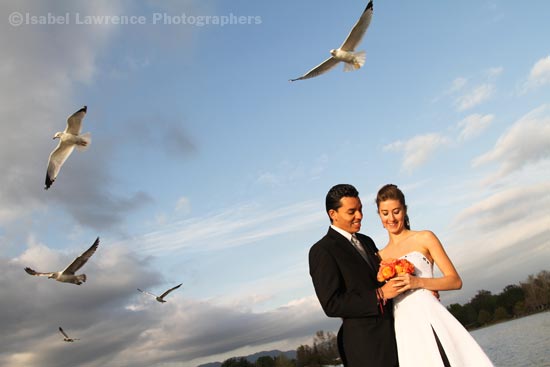
In order to capitalize on the dramatic sky and the flying gulls, I sat down in front of Kerry and Gustavo and waited for the right combination of birds to appear in my viewfinder. I also tilted the horizon line a little to add a bit more drama to the scene. Right off camera, Judy is throwing pretzels in the air. Thanks again Judy for being such a great bird handler!
Lesson #4
Shoot from above.
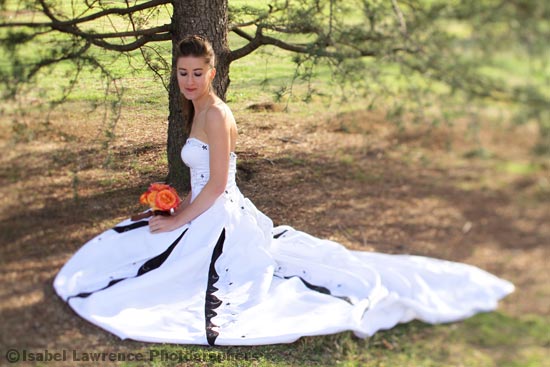
This is a very flattering way to photograph most people. It really slenderizes the body and in a portrait situation, makes the subject’s eye look great. Normally Larry and I keep a step stool as part of our shooting arsenal. Since we didn’t have it on this day, we had Kerry sit so we could photograph her from above.
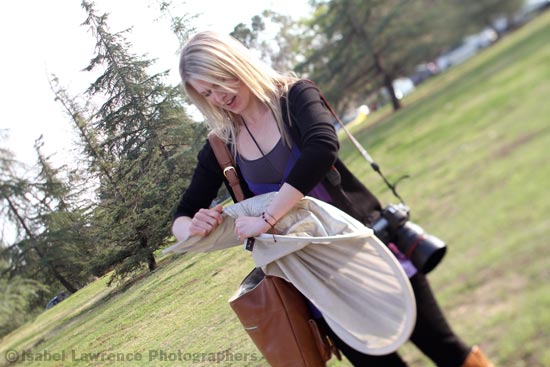
One of the toughest things about photographing a wedding is not dealing with a nervous bride, or a temper tantrum throwing flower girl – it’s folding up the reflector!
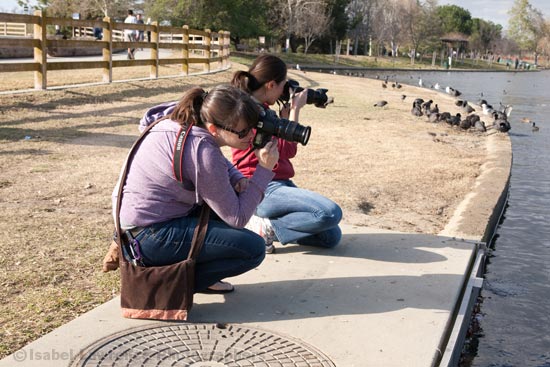
Even though Hannah and Judy are sitting right next to each other, as is usually the case with Larry and me, they are photographing two entirely different things.
The following four images ©Molly Penton-Zaidman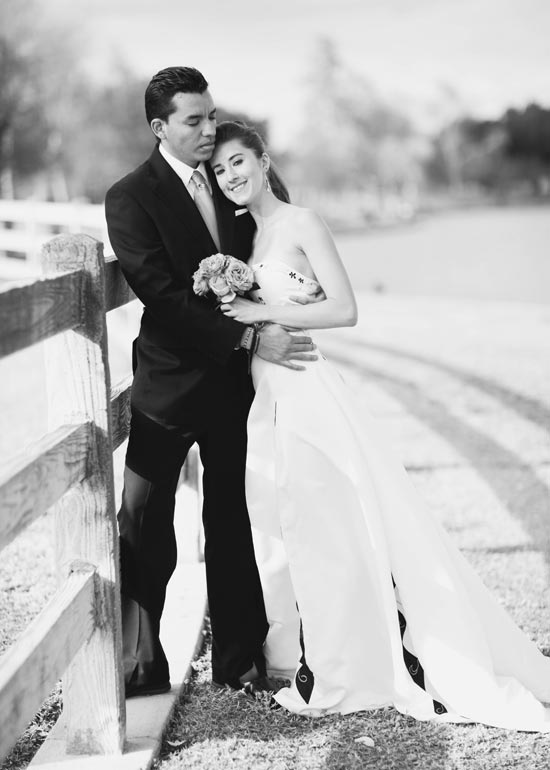
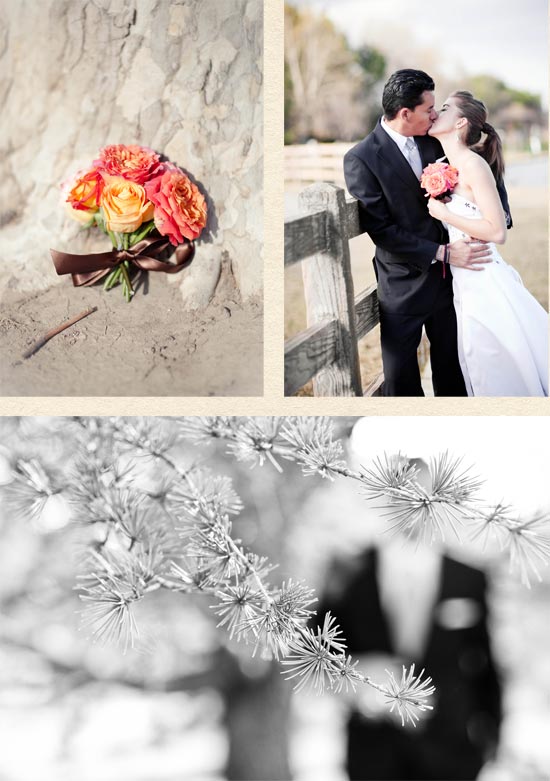
Molly has a very romantic eye. I was so impressed with the way she played with shadow and she made a not so pretty part of the park look amazing. Plus the image of the pine needle with the groom in the background, is right up my alley. Love it!
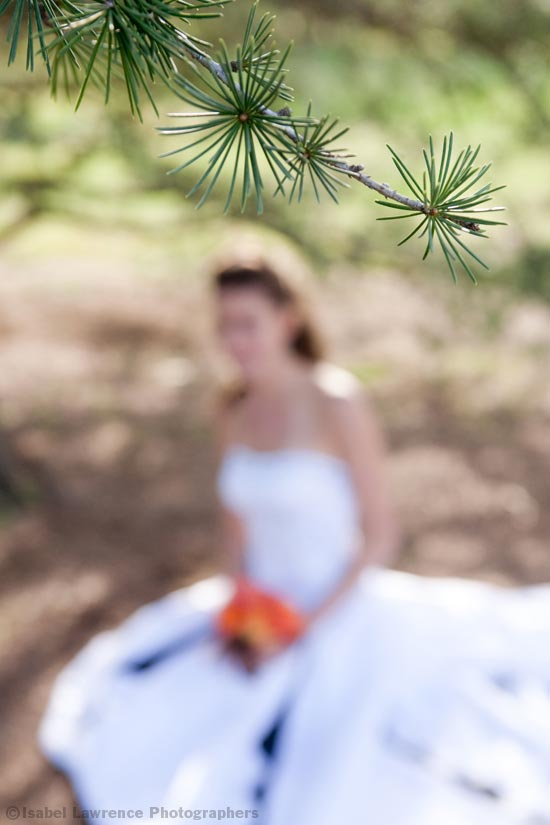
Which brings me to Lesson #5
Be unpredictable.
Yes, I could have focused on the bride and made a more traditional portrait but sometimes it pays to shift your focus and go for a more off-beat approach. (Molly and I were definitely on the same wave-length here).
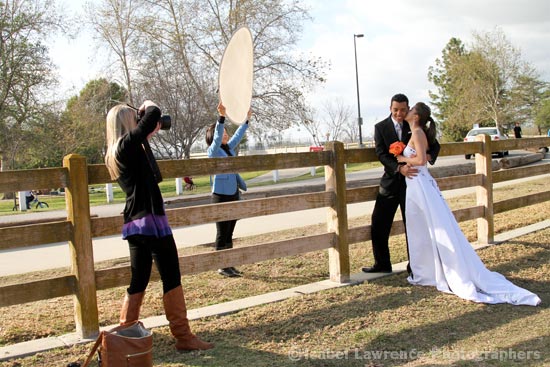
We had the students assist each other, just like Larry and I do.
The following four images ©Judy Wang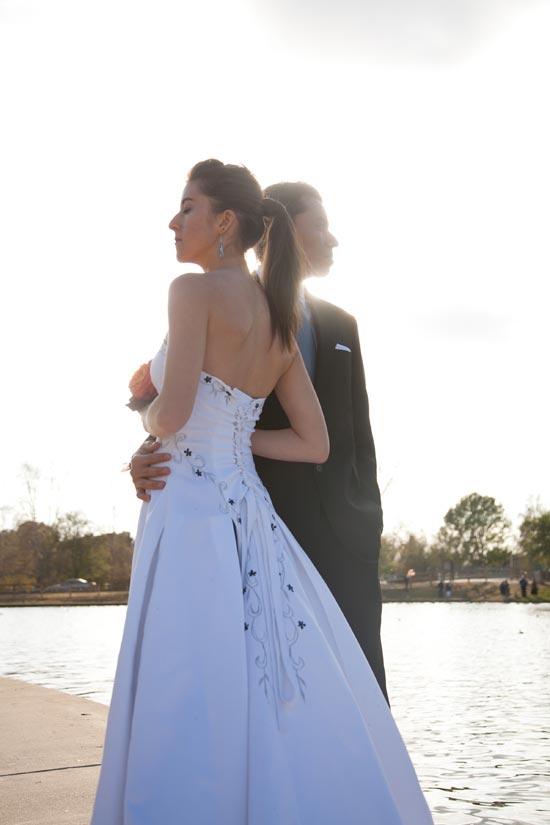
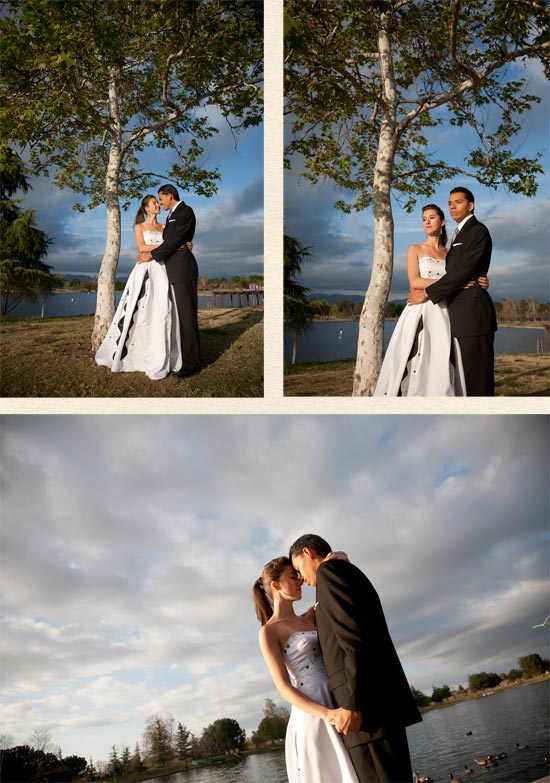
Judy was terrific at communicating with the couple. She gave clear, concise directions and was extremely calm and professional. I think you’ll agree with me that her results are dramatic and gorgeous.
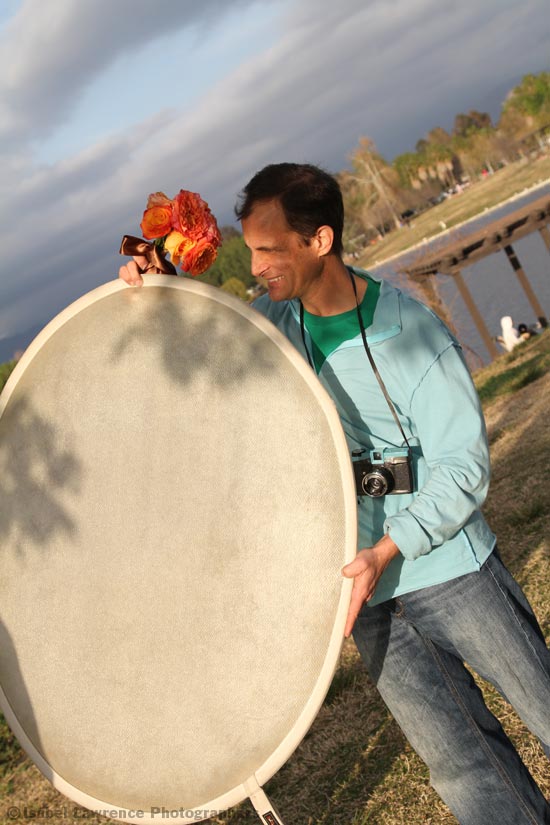
As is usually the case, Larry does triple duty on the shoot: he’s the wielder of the reflector, the prop-holder and of course, always has a camera at the ready.
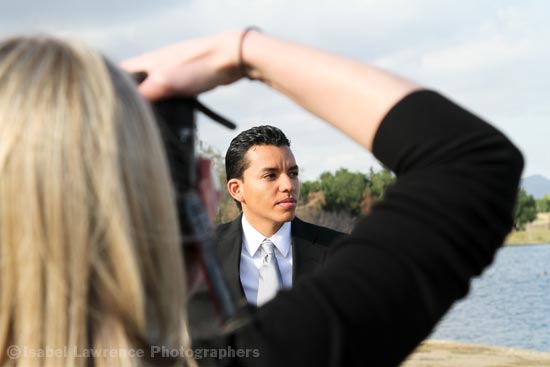
Lesson #6
Look for unusual ways to illustrate your point of view.
By framing our groom via one of the student’s shots, we are relaying the story in a graphic and interesting way.
The following four images ©Samantha Le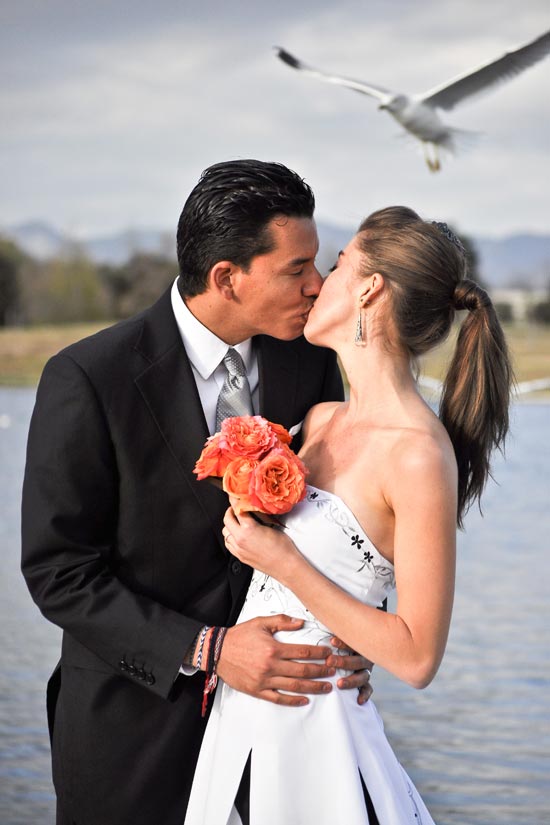
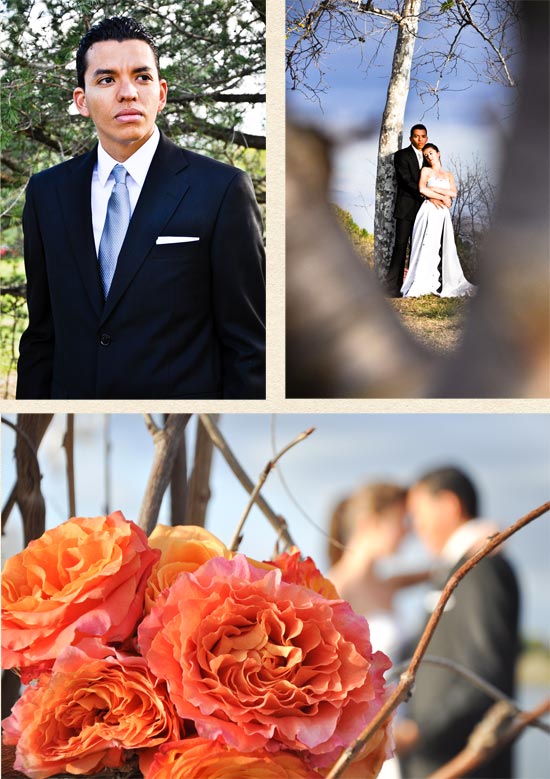
Sam has a wonderful way of framing her shots. Plus, she took what I thought was one of the best portraits of Gustavo.
Holly and Sam compare shots.
A good day’s work was done by all. Thanks Molly, Sam, Judy and Hannah for being such quick studies and for sharing your work with us in this blog.
