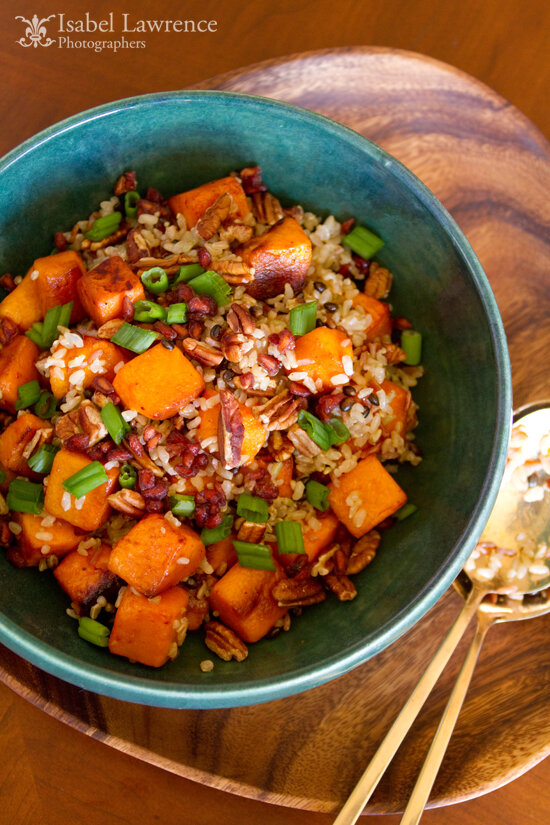
One of the questions I hear most from friends is, “how do I take better pictures of food?”
It used to be that food photography was a mystical endeavor involving huge studios with elaborate lighting set-ups and food stylists armed with WD40. The dishes being photographed would be shellacked, greased, and propped up by tiny wads of rubber cement making them look great but completely inedible. Photographing food used to be as complicated as shooting a car! That has changed a bit lately due to photographers and bloggers like Katie Quinn Davies and Joy the Baker. These ladies prove that you don’t need a big fancy studio or a degree from RISD to shoot great photos of your kitchen creations.
In this blog post, I’ll take you step by step into my method of shooting food. Whether you are interested in starting your own foodie blog or just want to post better snaps of that delicious meal you had on Instagram, I think you’ll find something of use.
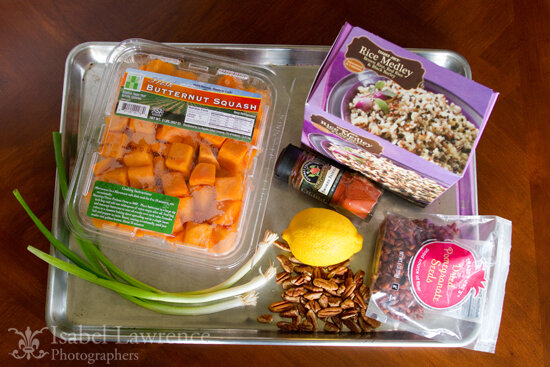
When I’m featuring a recipe on our blog, I’ll sometimes photograph all the ingredients needed for that particular dish. The first thing I consider is the light. Most food looks best in soft non-directional light. Knowing I will have this type of lighting in my dining room for most of the morning, this is where I shoot most of my food images.
Tip #1 If you are shooting food with your smart phone or a point and shoot camera, the first thing you want to do is turn off your flash. If I’m going to a great restaurant during the day where I suspect I may want to take a picture of my dish, I’ll ask to be seated near a window. If it’s at night, I’ll snap a shot just to have a record for myself but most likely won’t post the photo anywhere because it really won’t be the ideal way to show the food or my photography. What I will do however, is try to recreate the dish at home so I can photograph it under ideal conditions like I did here.
Let’s get back to this particular photo…while it clearly shows all the ingredients required for this squash salad, I think we can all agree that this is a pretty boring way to show them. First of all, the plastic containers are really sterile and do nothing to highlight all the wonderful colors and textures of the ingredients. Also, the metal sheet pan is kind of jarring against the warm wooden table. Finally, anything with lettering pulls the viewer’s focus so unless you are doing an ad for these particular products, either remove them from their packaging or if that is not possible, position them in the photo so the lettering is minimized.
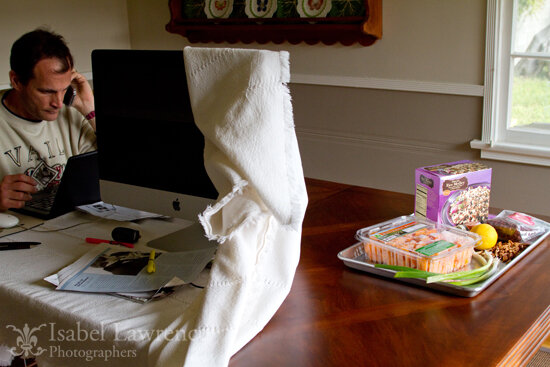
Before we move on, I wanted to show you my set-up. Pretty fancy right?
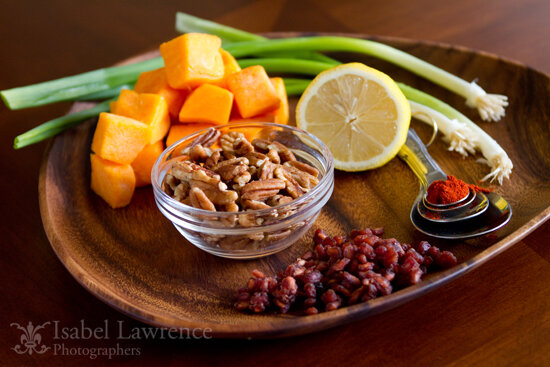
My second attempt at the ingredients photo is much improved. The round wooden tray makes the colorful items being photographed on it pop and it “marries” beautifully with the table underneath it. By releasing the ingredients from their plastic containers, the viewer can know see how gorgeous and sensuous they are. I’ve also brought my camera to almost eye level with the scene, so that the various textures and colors play off each other. I still think we can do better though. I’m not crazy about that big gap between the pomegranates and the lemon so let’s try another angle.
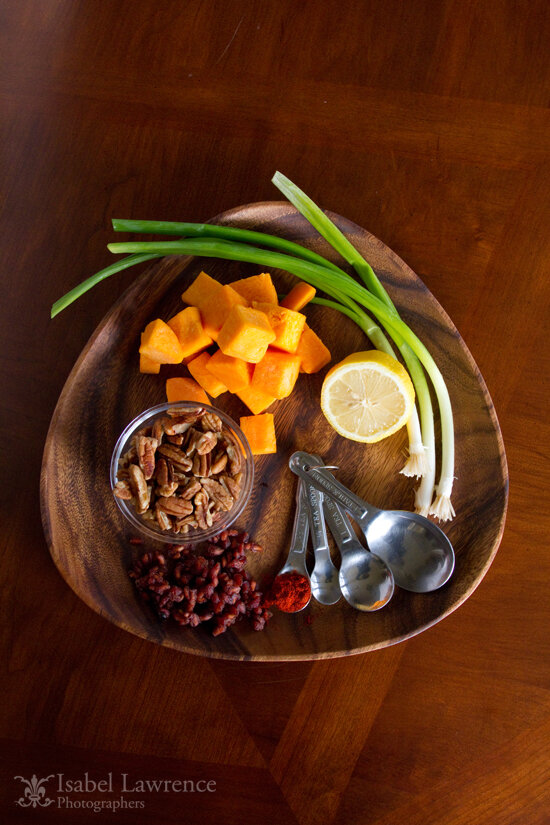
I’ve fanned out the measuring spoons to fill in that gap and am standing on a chair over the tray. I like this photo better because all of the ingredients are now being given equal weight in the photo. I also like how the curve of the scallions is enforced by the shape of the tray.
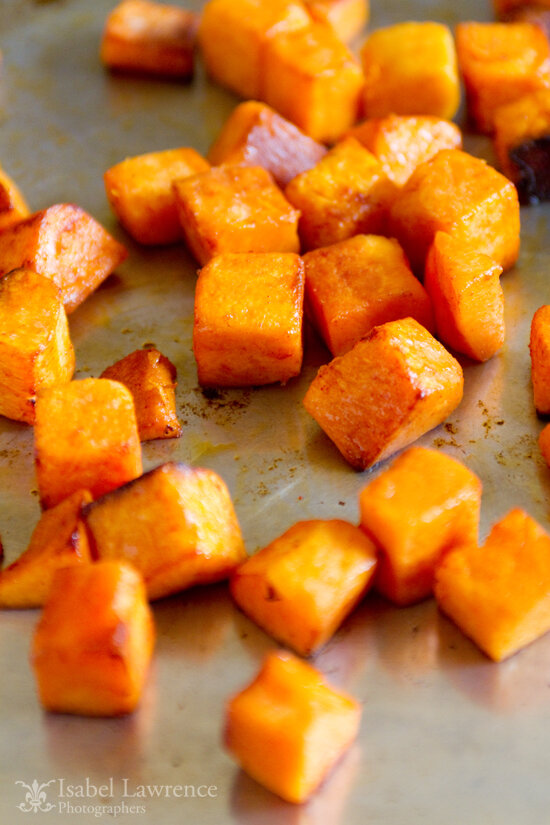
The trickiest thing about photographing food? Not letting it burn while you scan through the photos you’ve previously shot in the back of your camera.
Tip#2 One of my favorite Food Network chefs, Anne Burrell always says,”Brown food is good food”. The same can be said for photography. A little char or caramelization photographs beautifully.
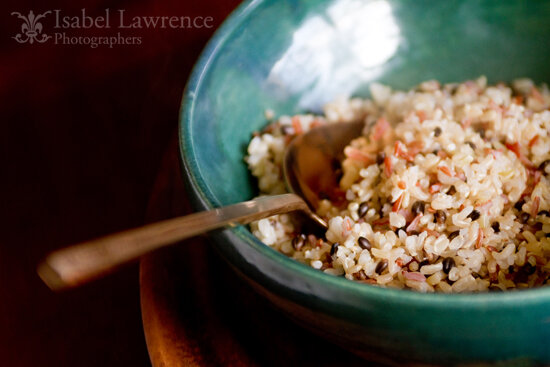
Rice is a big component in this dish. It’s not the most photogenic thing in the world however. Plain white or brown rice would have made for a very boring photo. I purposely used this type because not only does it photograph nicely, it tastes great too. I am however, not loving that bright highlight on the bowl…
Tip #3 The very first thing you should do before you pick up your camera is determine a color palette for the shoot. This should not only suit the dish you’re making but the season as well. Once you’ve determined the “feel” of your shoot, it will be easy to pull together the props to tie it all together.
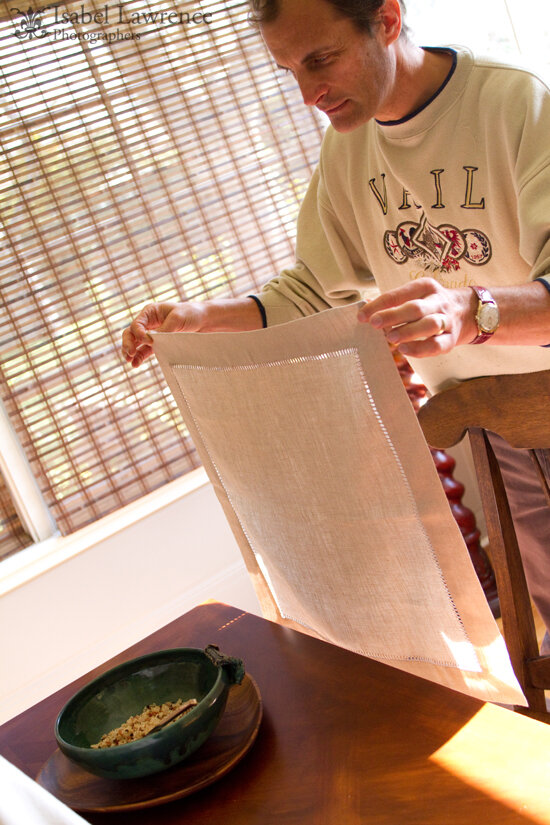
During the course of shooting, the light changed and direct sun came streaming through the window. As you can see, we have slatted bamboo blinds and therefore can’t block the sun. Luckily, my trusty napkin-wielding assistant saved the day.
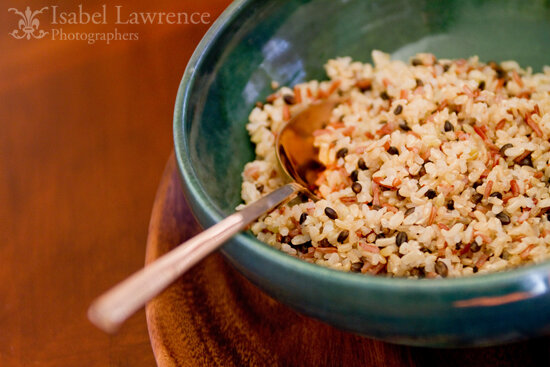
By blocking out the ray of light, the focus is now where it should be, on the dish of rice.
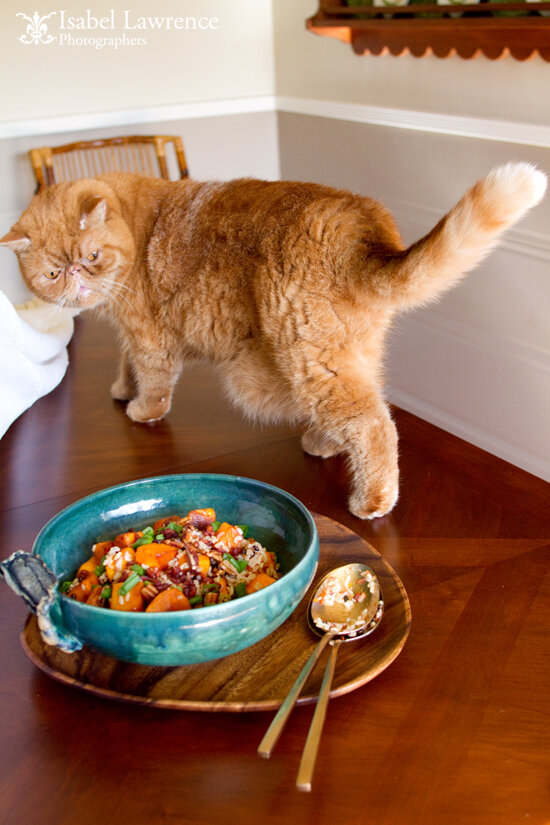
Tip #4 Be ever vigilant. You never know when a furry interloper’s curiosity will prevail!
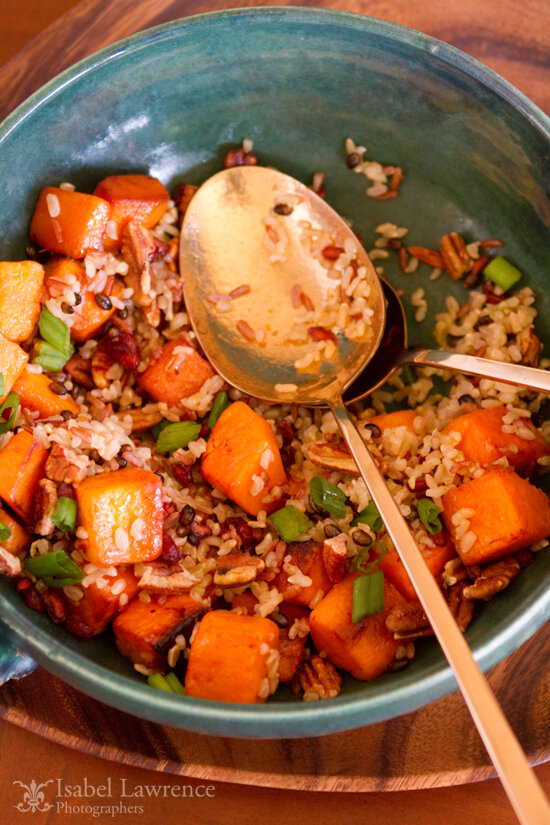
Now it’s time for the end result or what I call, “the money shot.” This is the point where viewers will hopefully drool over your photograph. I love showing food “in action” or in the process of being enjoyed. By dropping the spoons in the middle of the dish, this image now has a story and more life.
Tip #5 Don’t over-think the placement of your props. When I’m using things like forks or napkins, I try not to fuss with them too much. I arrange them in as natural a way as possible, as if I had just laid them down on my kitchen table. If you arrange and re-arrange them too much, the result will look forced and contrived.
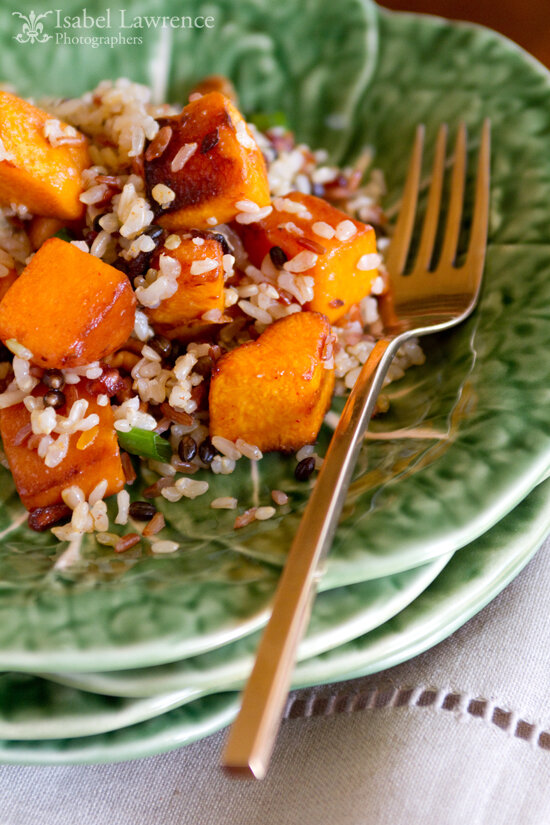
Another thing I like to do is create height and layers in my food photos. By stacking the plates and placing them on this linen napkin, I’ve created places for the viewer’s eye to travel.
My goal with this post is show you that you don’t need a lot of space or fancy equipment to shoot food. I do have the luxury of owning great camera equipment, in this case I used a Canon 7D body and a Canon 28-70mm lens but I know bloggers who take great photos of food with simple point and shoot cameras. Just follow my tips and you’ll see a big improvement in your photography.
If you liked this post, you might also like this one:
My favorite iPhone apps and how I combine them
